Using Planning Center Services in Your Ministry

A few weeks ago, I talked about how to set up Planning Center Services. You can see that post here. But once you get Services all set up, how do you use it week in and week out? How do you handle volunteer declines? How do you communicate with them what you’re doing in service, and how can they be prepared?
In this post, I’ll answer all those questions. There are a lot of great Services help articles that can help you. Today, I’m sharing how I use Services and what has worked best for me.
1. Managing Volunteers
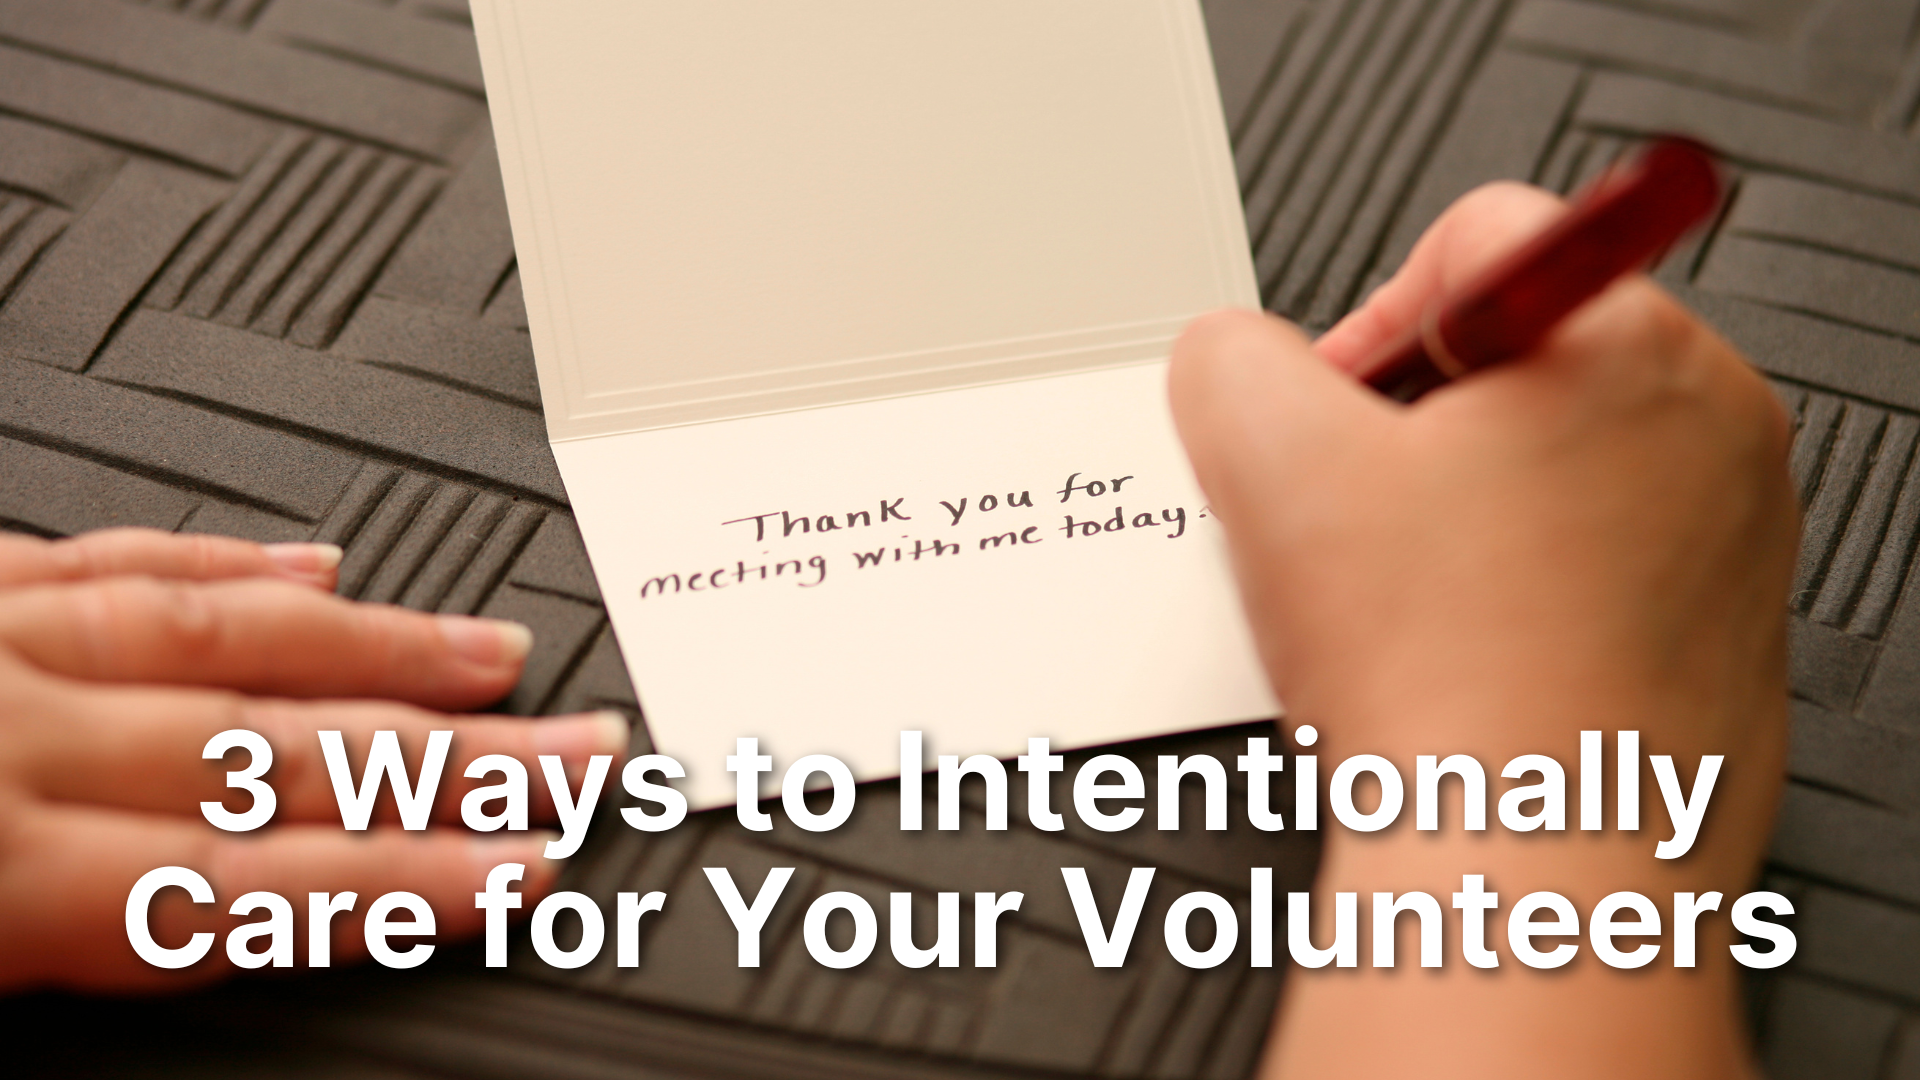
In my last post, I talked about how to schedule your volunteers and email them that they’re serving. However, you can’t stop there. Just because you sent an email doesn’t mean that the recipient got it or even looked at it. That’s why Services asks volunteers to confirm or decline the request to serve.
From the very beginning of my onboard process, I ask my volunteers to always respond to this notification. If they don’t confirm, then we’re left hoping they show up.
I know many ministry leaders will track down their volunteers to make sure they respond. I can’t live this way, but I will admit, it’s a lot easier to fill holes when I know they’re not going to be there.
Even if my volunteers don’t confirm they’re serving, they usually decline the invite. I have it in my policy manual that it is the volunteer’s responsibility to find their replacement. And many times, they do. However, I do find myself looking to fill holes. I wish that Services made it easier for volunteers to find their own subs. But I think permissions makes it impossible.
If you want your volunteers to confirm or decline, you have to remind them frequently. And by frequently, I mean every time they don’t do it. So, if you have a volunteer show up that didn’t confirm, ask them to do it next time. Offer to help if they don’t understand how. Likewise, if they no call/ no show, you should call to check on them and remind them of the expectation.
Vision leaks. Setting the expectation once is not good enough. They will forget. Repeating the expectation relieves a lot of stress and aggravation for everyone involved.
Once a person declines, you need to go into the service and assign a replacement. You can either choose from the email Planning Center sends you, or you can do it from the app/site. Simply click on the declined person and add a new team member. You’ll need to send the prepared notification by clicking the mail icon to the right of their name.
However, don’t rely on this notification! Whenever I’m assigning a sub, I always have a conversation with them before I send it. I don’t want the person to be surprised they’ve been scheduled for a week they didn’t agree to. After they agree then I send the notification.
2. Creating the Service Order
I already covered this part in the previous post. But now that we’re talking about a specific plan, I want to go a little deeper.
If you followed the plan I suggested earlier, you should have placeholders for games, Bible story and songs. This is the time to put the actual elements you plan to use.
To change an item, click it and a sidebar menu will open up. From there you can change the title, duration, when it happens and add a description.

In addition, you can add team specific notes and specific media or files relevant to this item. I don’t often use these extra notes because my volunteers in kidmin aren't glued to Services during the service. But they are nice to have.
One thing I will add is the video for the song. Since in kidmin I always used a worship track, I want to share that video with my volunteers. This way they can listen to the music and learn the music and/or motions before Sunday. When I had a kids worship team they used this to practice at home.
I’ll talk about how to do this in my next point.
Once all the items are updated, look at the bottom left-side of the order to see how long the service plan is. If it’s not where you want it to be, you’ll need to go back and adjust the durations so that everything fits.

I also use Live Services to help me keep track of how long I actually spend in each segment. I’ll talk more about that in a minute.
3. Adding Media to a Service Plan
Because I want my volunteers to be prepared for worship, I share all the music we’re planning to sing each week. Services allows you to upload your own videos to their server or link to a YouTube video.
To do this, click the song you want to add the media. A sidebar will open and at the bottom click media, then the button +Add Media.

If you’ve already uploaded media to services a list of those files will appear. Simply click one and that media will be attached. However, if you want to add something new, then next to the search bar at the top, click new.

A pop up will appear asking for as much of the information about the file you can share. None of these fields are required, but I like to add the title, media type, and duration. To keep things easy to search later, I’ll also add a tag like “kidmin” or whatever ministry you’re adding the media for.

Once you’re done, make sure the checkbox upload or link files is checked and click submit. The next pop up will ask you to add the file. You can upload from your computer or add a share link from YouTube or a cloud drive.

Once you’ve done that, click done. Your media is now added to that item. You’ll need to update your duration to match that of the song.
Another way is to add the media directly to the service order. On the top right of the plan, click Add and then choose media. Follow the same steps as before, then move the media item by clicking and dragging it to the appropriate spot. Make sure you delete the placeholder so you’re not counting the same item twice.
4. Add Service Documents
Creating the service order and sharing the worship is one thing. But I also want to share all the curriculum files with my volunteers as well. After all, I want them to come prepared, having reviewed all the materials before they arrive.
To do this, look for the files header on the left-hand tool bar and click the Add button (pic)

The same pop up that we saw from adding media will appear. Then add all the curriculum files that are pertinent to that service. You don’t have to do one at a time either. You can add multiple files by browsing and/or dragging and dropping.
Once all the files are added, your volunteers can find them in the Services app/site or under the files section. You cannot access these in the Church Center app.
Remember to tell your volunteers where to look. They will forget.
5. Services Live
This is a great feature if you want to stay on schedule and/or track just how long you spend in each segment. Once your service is about to begin, you can open Services Live and a countdown will appear with your service order. As you click Next, a new countdown will begin based on how long you planned for that item to take. If you go over, the countdown will turn red and count up until you hit next. Once the service is over, you can go back and see just how long each segment took and adjust as necessary.
To use Services Live, I suggest you have a separate computer with dual monitors. I’ve used my presentation computer to do this as well with varying results. I also assign a volunteer to click the next button. On the first monitor, I have the schedule where the volunteer can advance the service. On the second monitor, I display another Services Live window with the live countdown. It’s facing the stage, so the speaker can see it. While I’m on stage, I can see the clock and countdown. This helps everything stay on track.
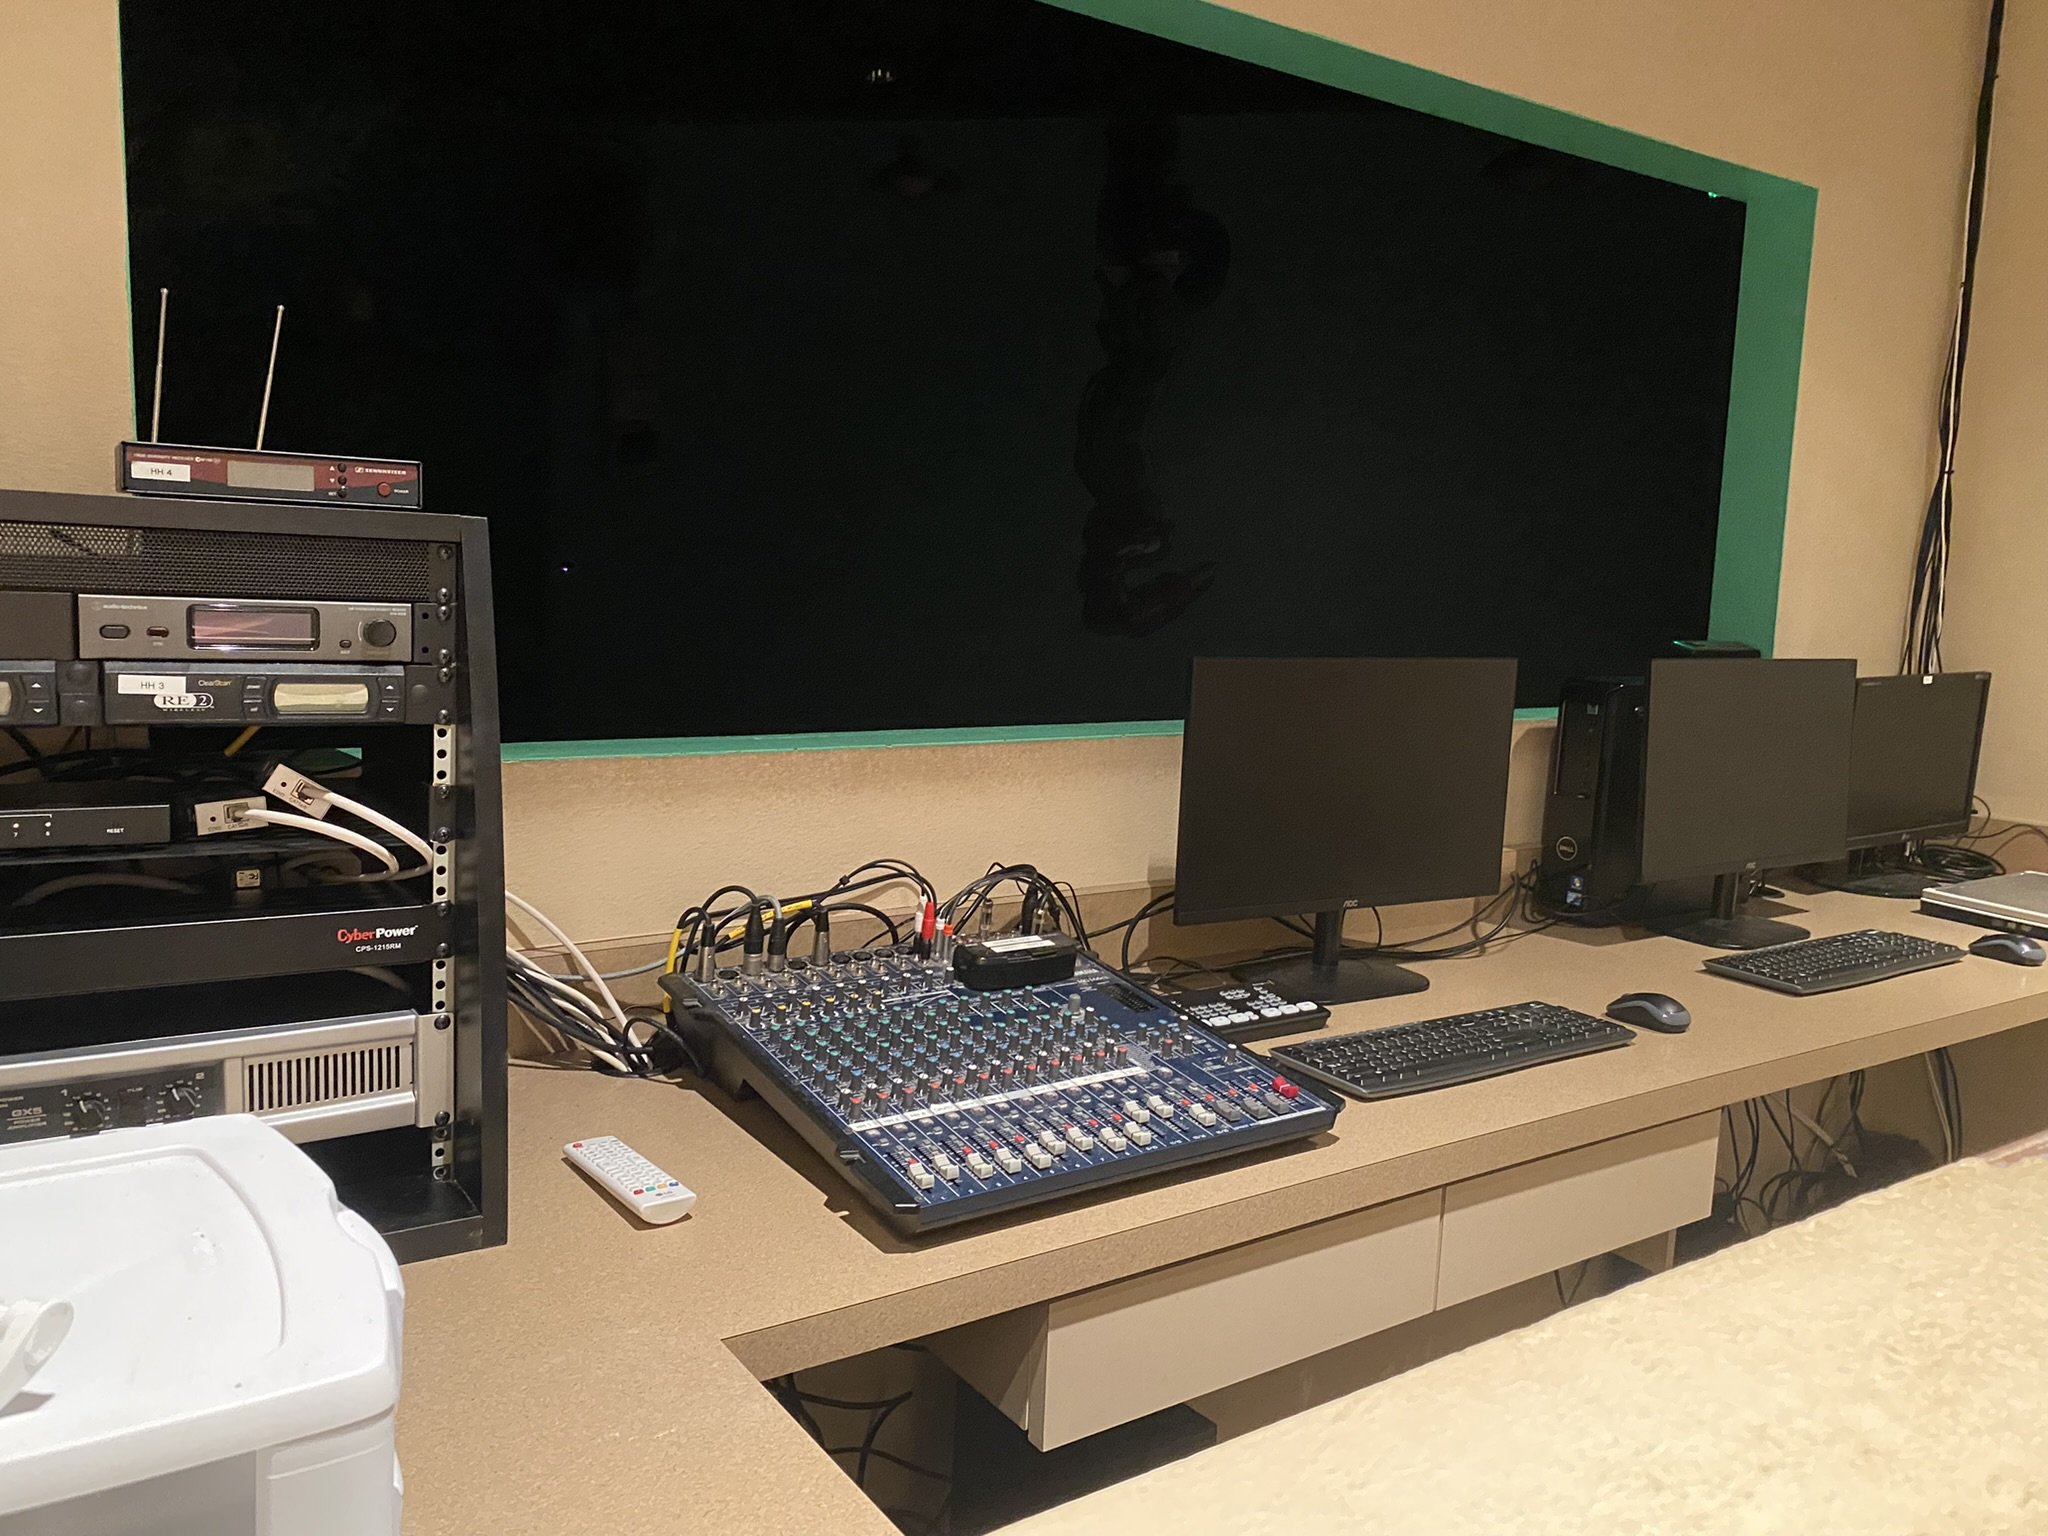
I place the middle screen on the counter above so the speakers can see the display.
To access Live, in the service plan, click the share button (that’s the box with an arrow pointing out) and then click Service Live.

A new screen will open with the aforementioned countdown and service order. Click the take control button.

Once you do that the Start and Prev buttons will become clickable. Your volunteer can now click Start (or next) as you get to each item.
For the second window on the next screen I go through the same process to get to Services live. However, don’t click “take control.” Move your cursor to the top of the screen and dropdown will appear. Here you can select different countdown set ups, countdown length, and switch between light and dark. If you stream your service, you can even add the link and Live will import the video into the countdown. I haven’t used the steaming integration, so I click Normal Layout and then choose Countdown Full.

As your volunteer clicks next on the first screen, the countdown will automatically update on the second screen. Pretty nifty.
There is a ton more Planning Center Services can do. I’ve only scratched the surface. My hope in this guide was to give you all the tools you need to deploy Services and elevate your volunteer management processes.
If you need further help, you can leave a comment, search the help articles, or join a Planning Center Facebook group. This one is my favorite.
Happy Planning!